What is Hardness Testing?
Hardness testing is a term for a range of methods used to measure a surface’s resistance to penetration by an indenter under pressure or impact.
The measurement value will depend on the test object’s:
- Tensile strength and yield strength
- Modulus of elasticity
- Dimension
- Surface finish
- Material homogeneity
Furthermore, the geometry of the indenter, the force (load) on the indenter, the speed of the impact, and the dwell time of the load will all play a role.
Method Overview
Brinell
- Larger workpieces
- Non-homogeneous surfaces
- Forged and cast components
Rockwell
- Larger test pieces
- Quick tests on metal
- Production control
- Fast results
Vickers
- All solid materials
- Versatile
- Individual weld tests
Brinell
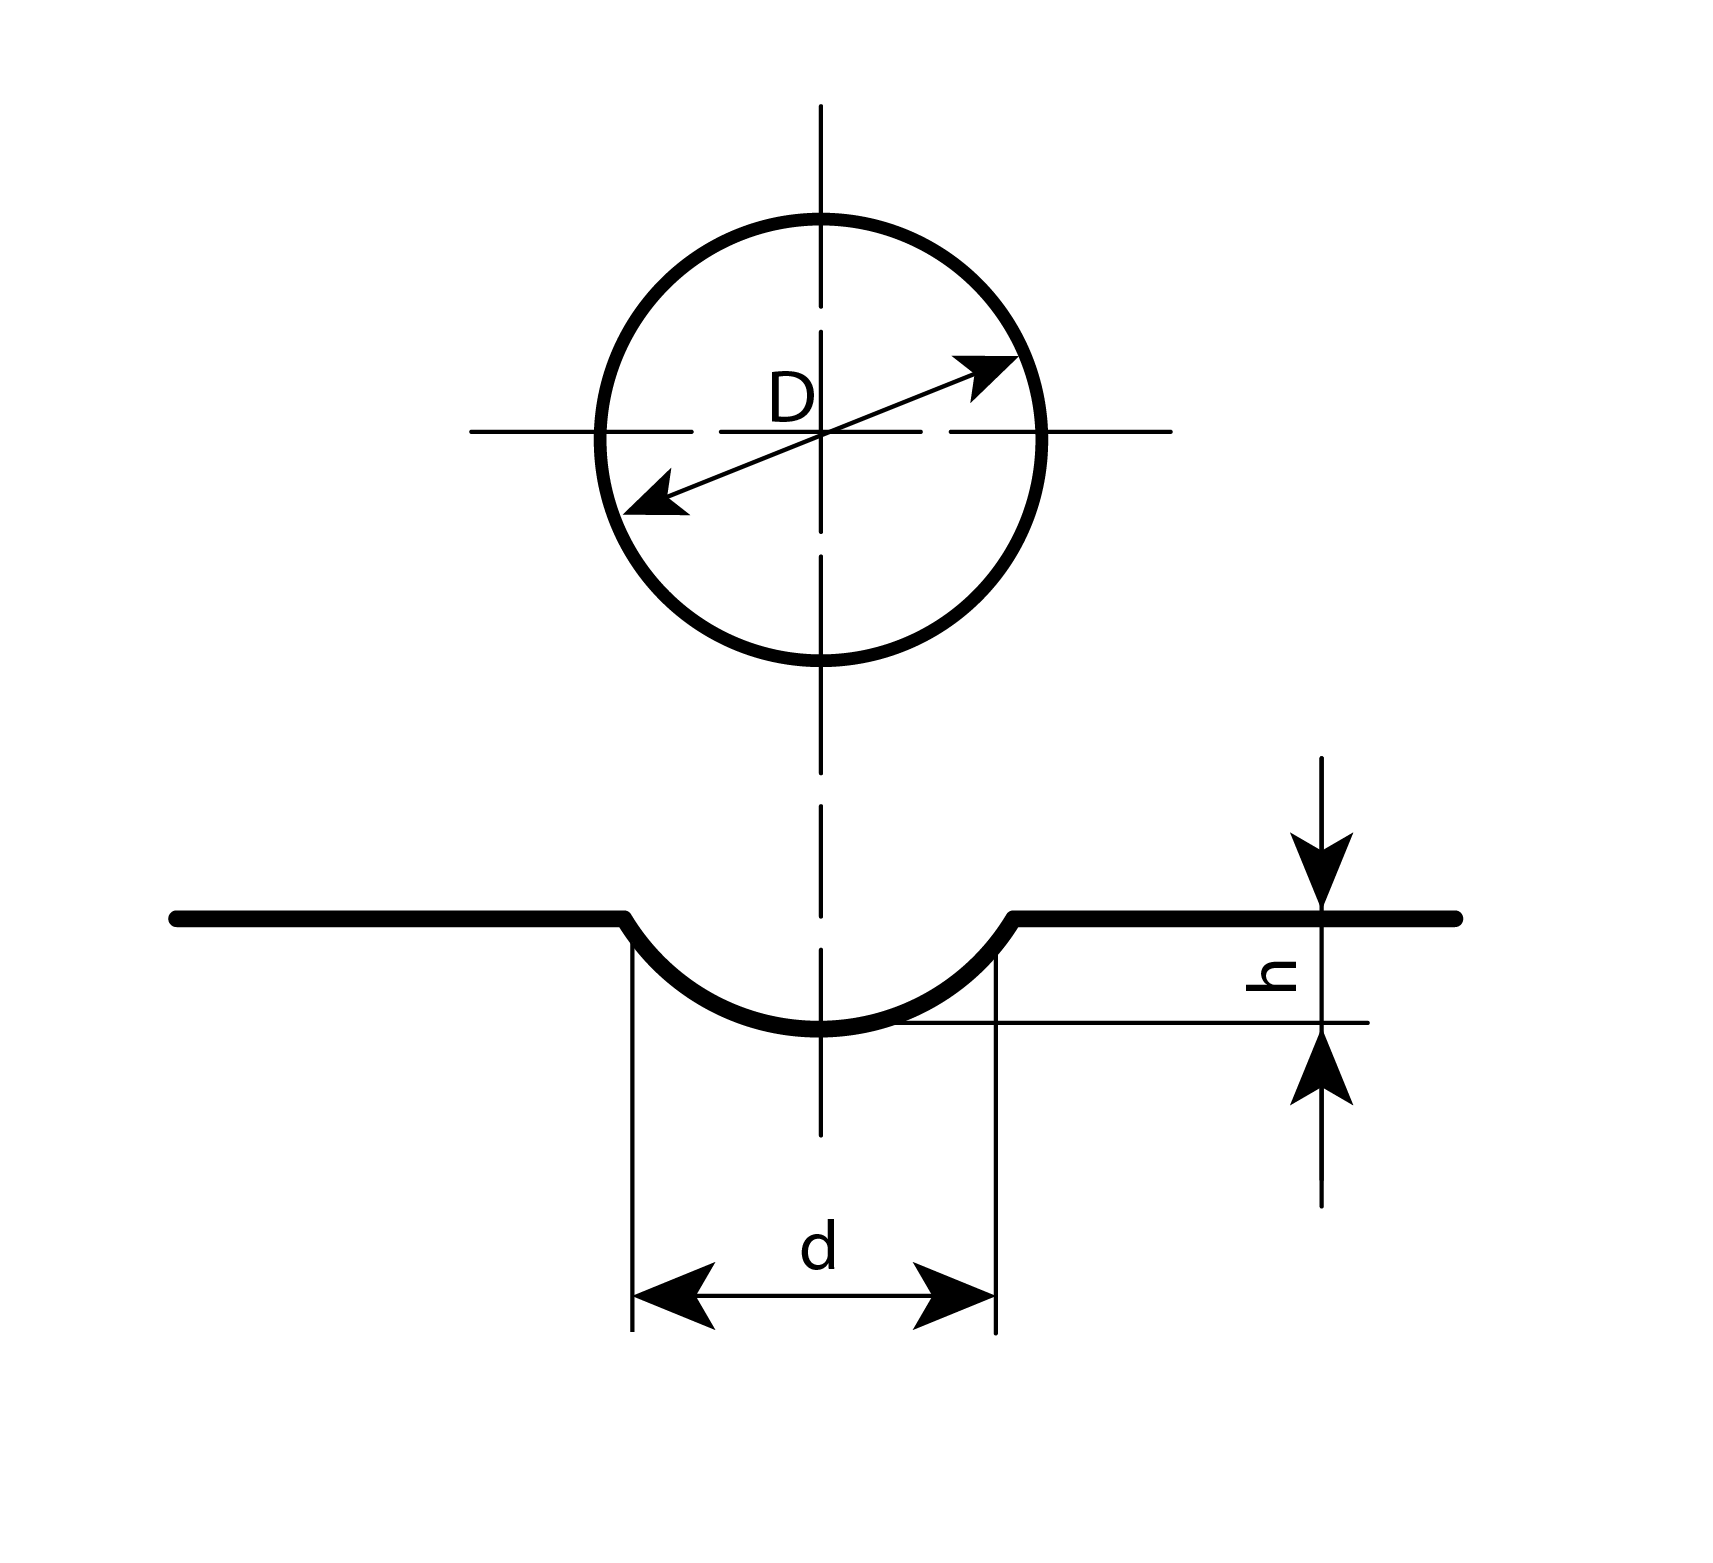
A spherical indenter of diameter 2.5 – 5.0 and 10.0 mm, made of steel or carbide. Loads range from approx. 1 kg to 3,000 kg. Indentation speed is less than about 0.5 mm/sec.
Brinell is mostly used for larger test specimens and leaves a relatively large indentation in the material, which is measured optically.
- Used for larger workpieces
- Good for porous and non-homogeneous surfaces
- Suitable for testing forged and cast components
The measurement result is obtained by measuring the spherical indentation left in the test piece.
The unit is referred to as HB, possibly HBS or HBW, depending on the ball diameter (mm)/load (kg) and dwell time (s).
Measurements are standardized in ISO 6506.
Brinell with Impact Load
The ball diameter is most often 5 mm, and the load is applied by an impact.
In one type of device, the load is controlled by a calibrated shear pin that breaks at a fixed load, as illustrated in the figure below:
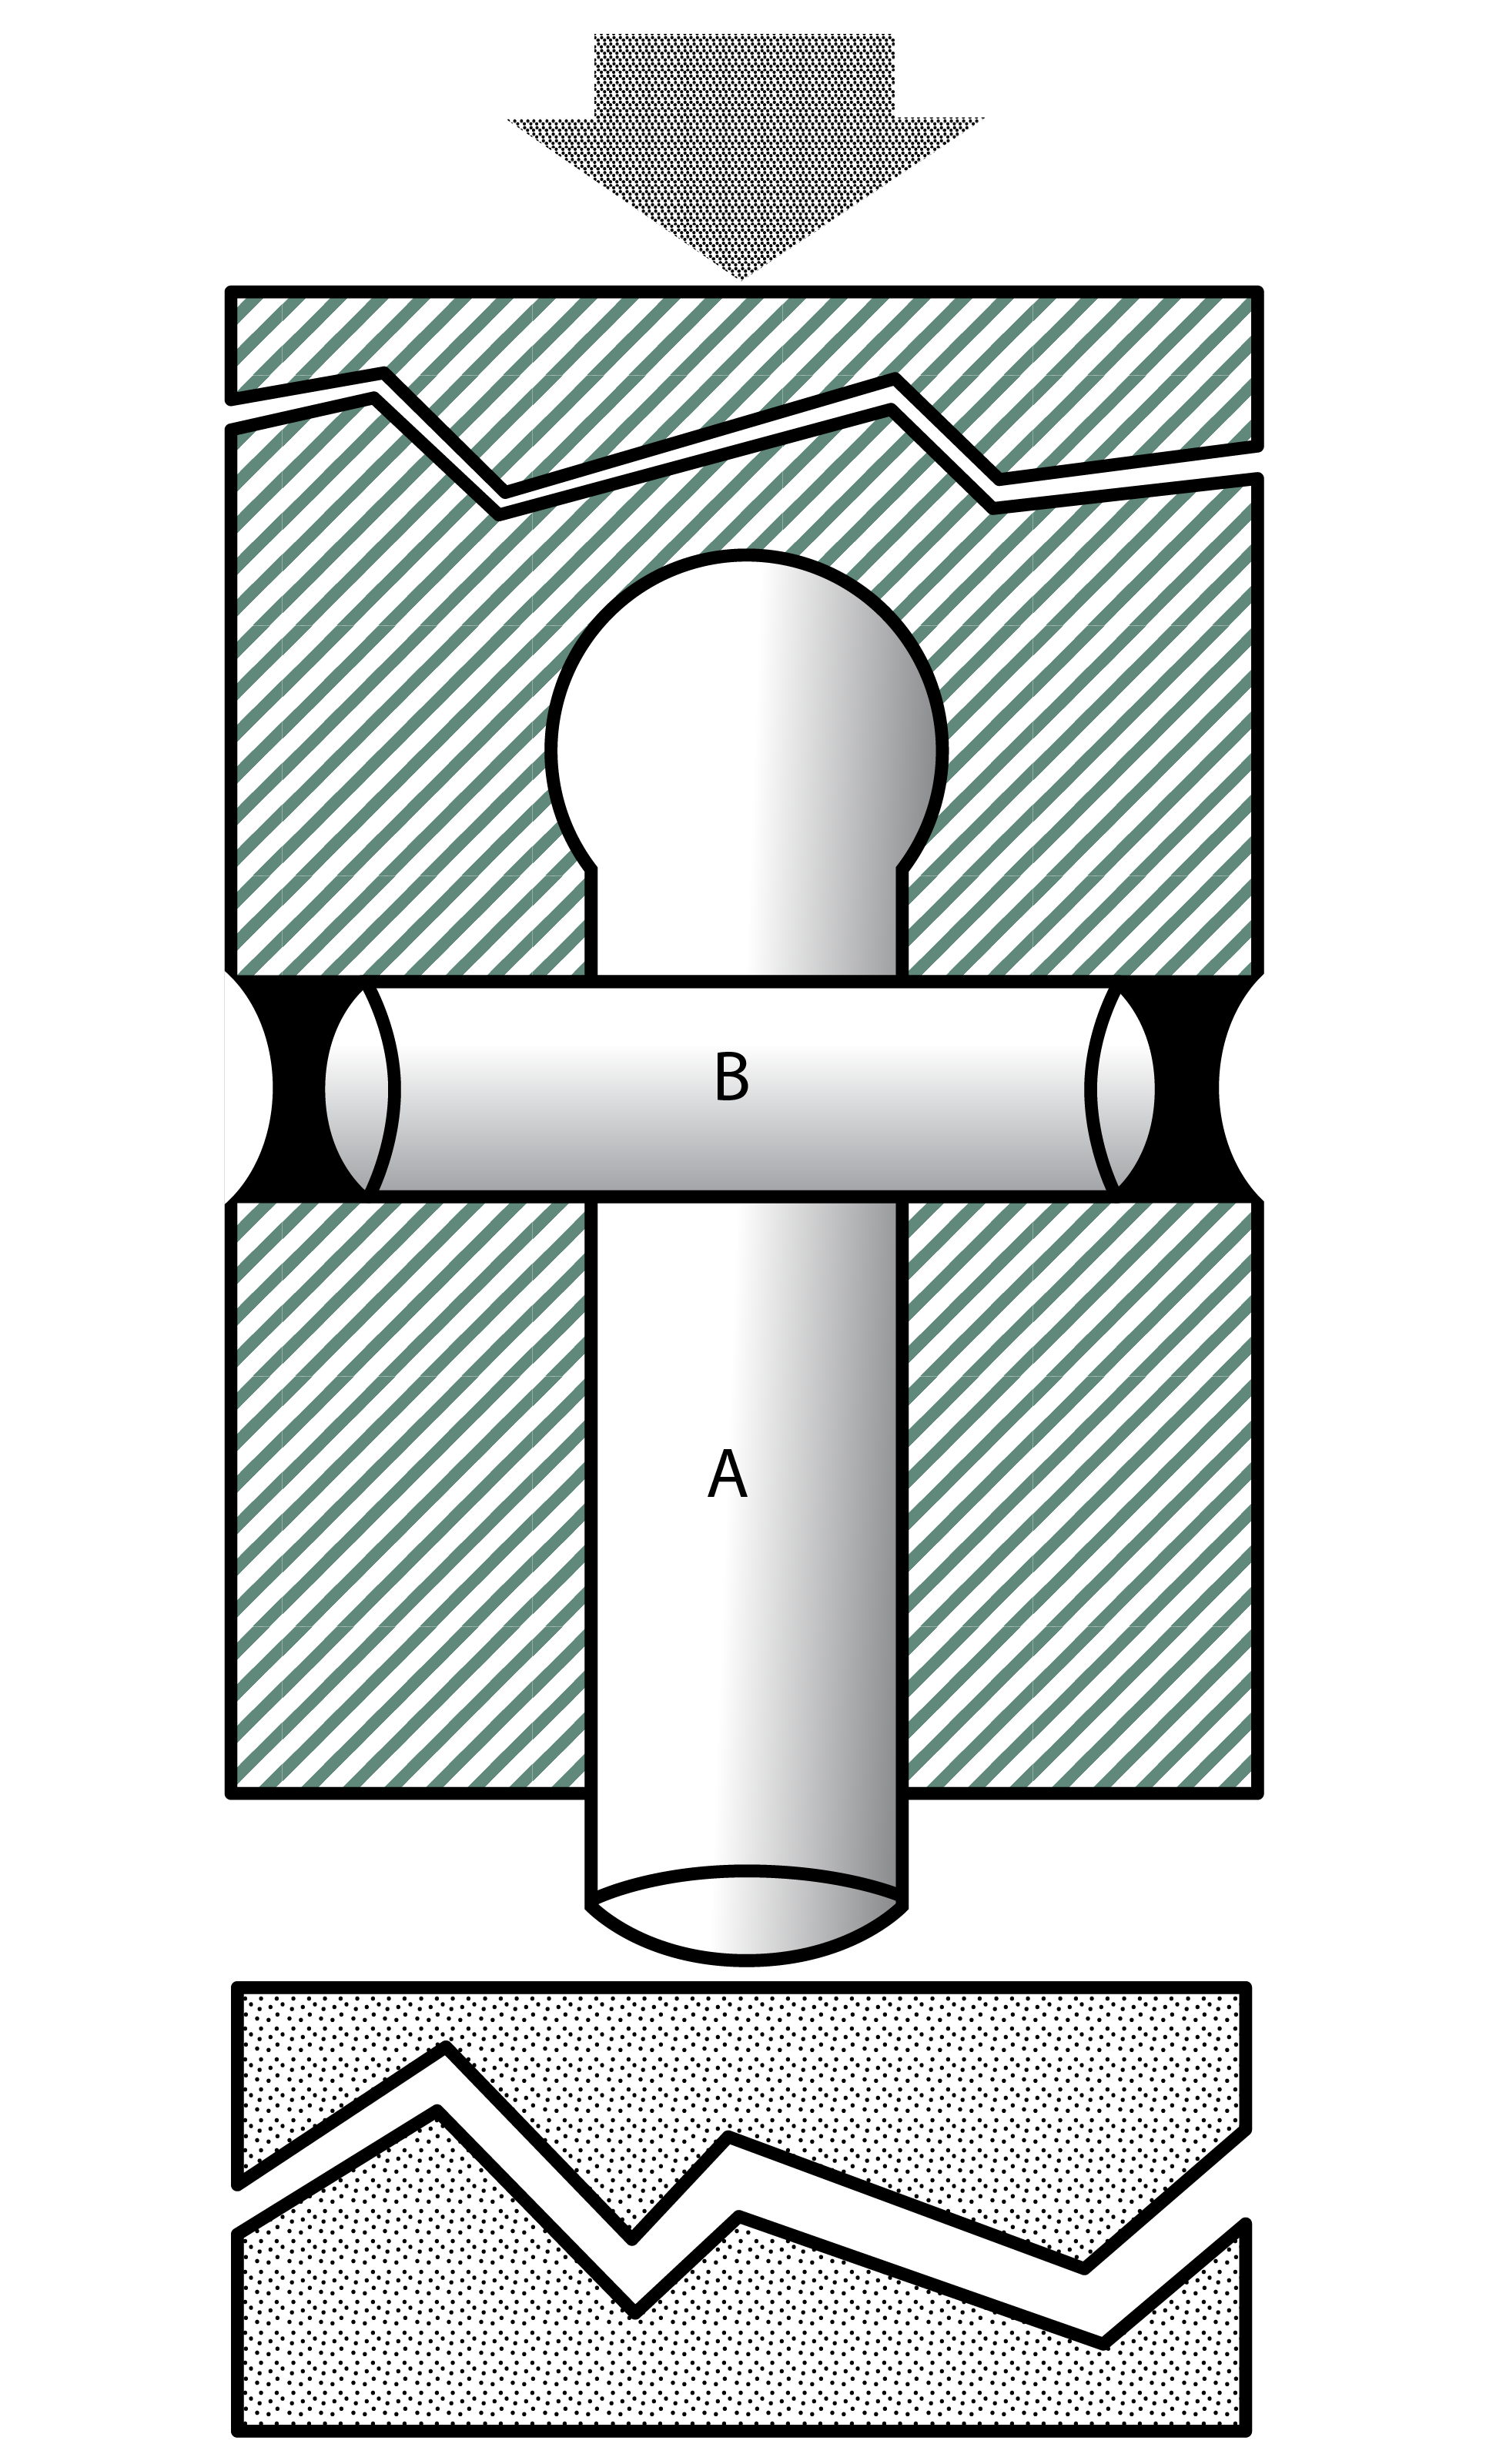 Brinell with impact load, principle for the type with a calibrated shear pin. A = Indenter, B = Impact/Shear pin
Rockwell C
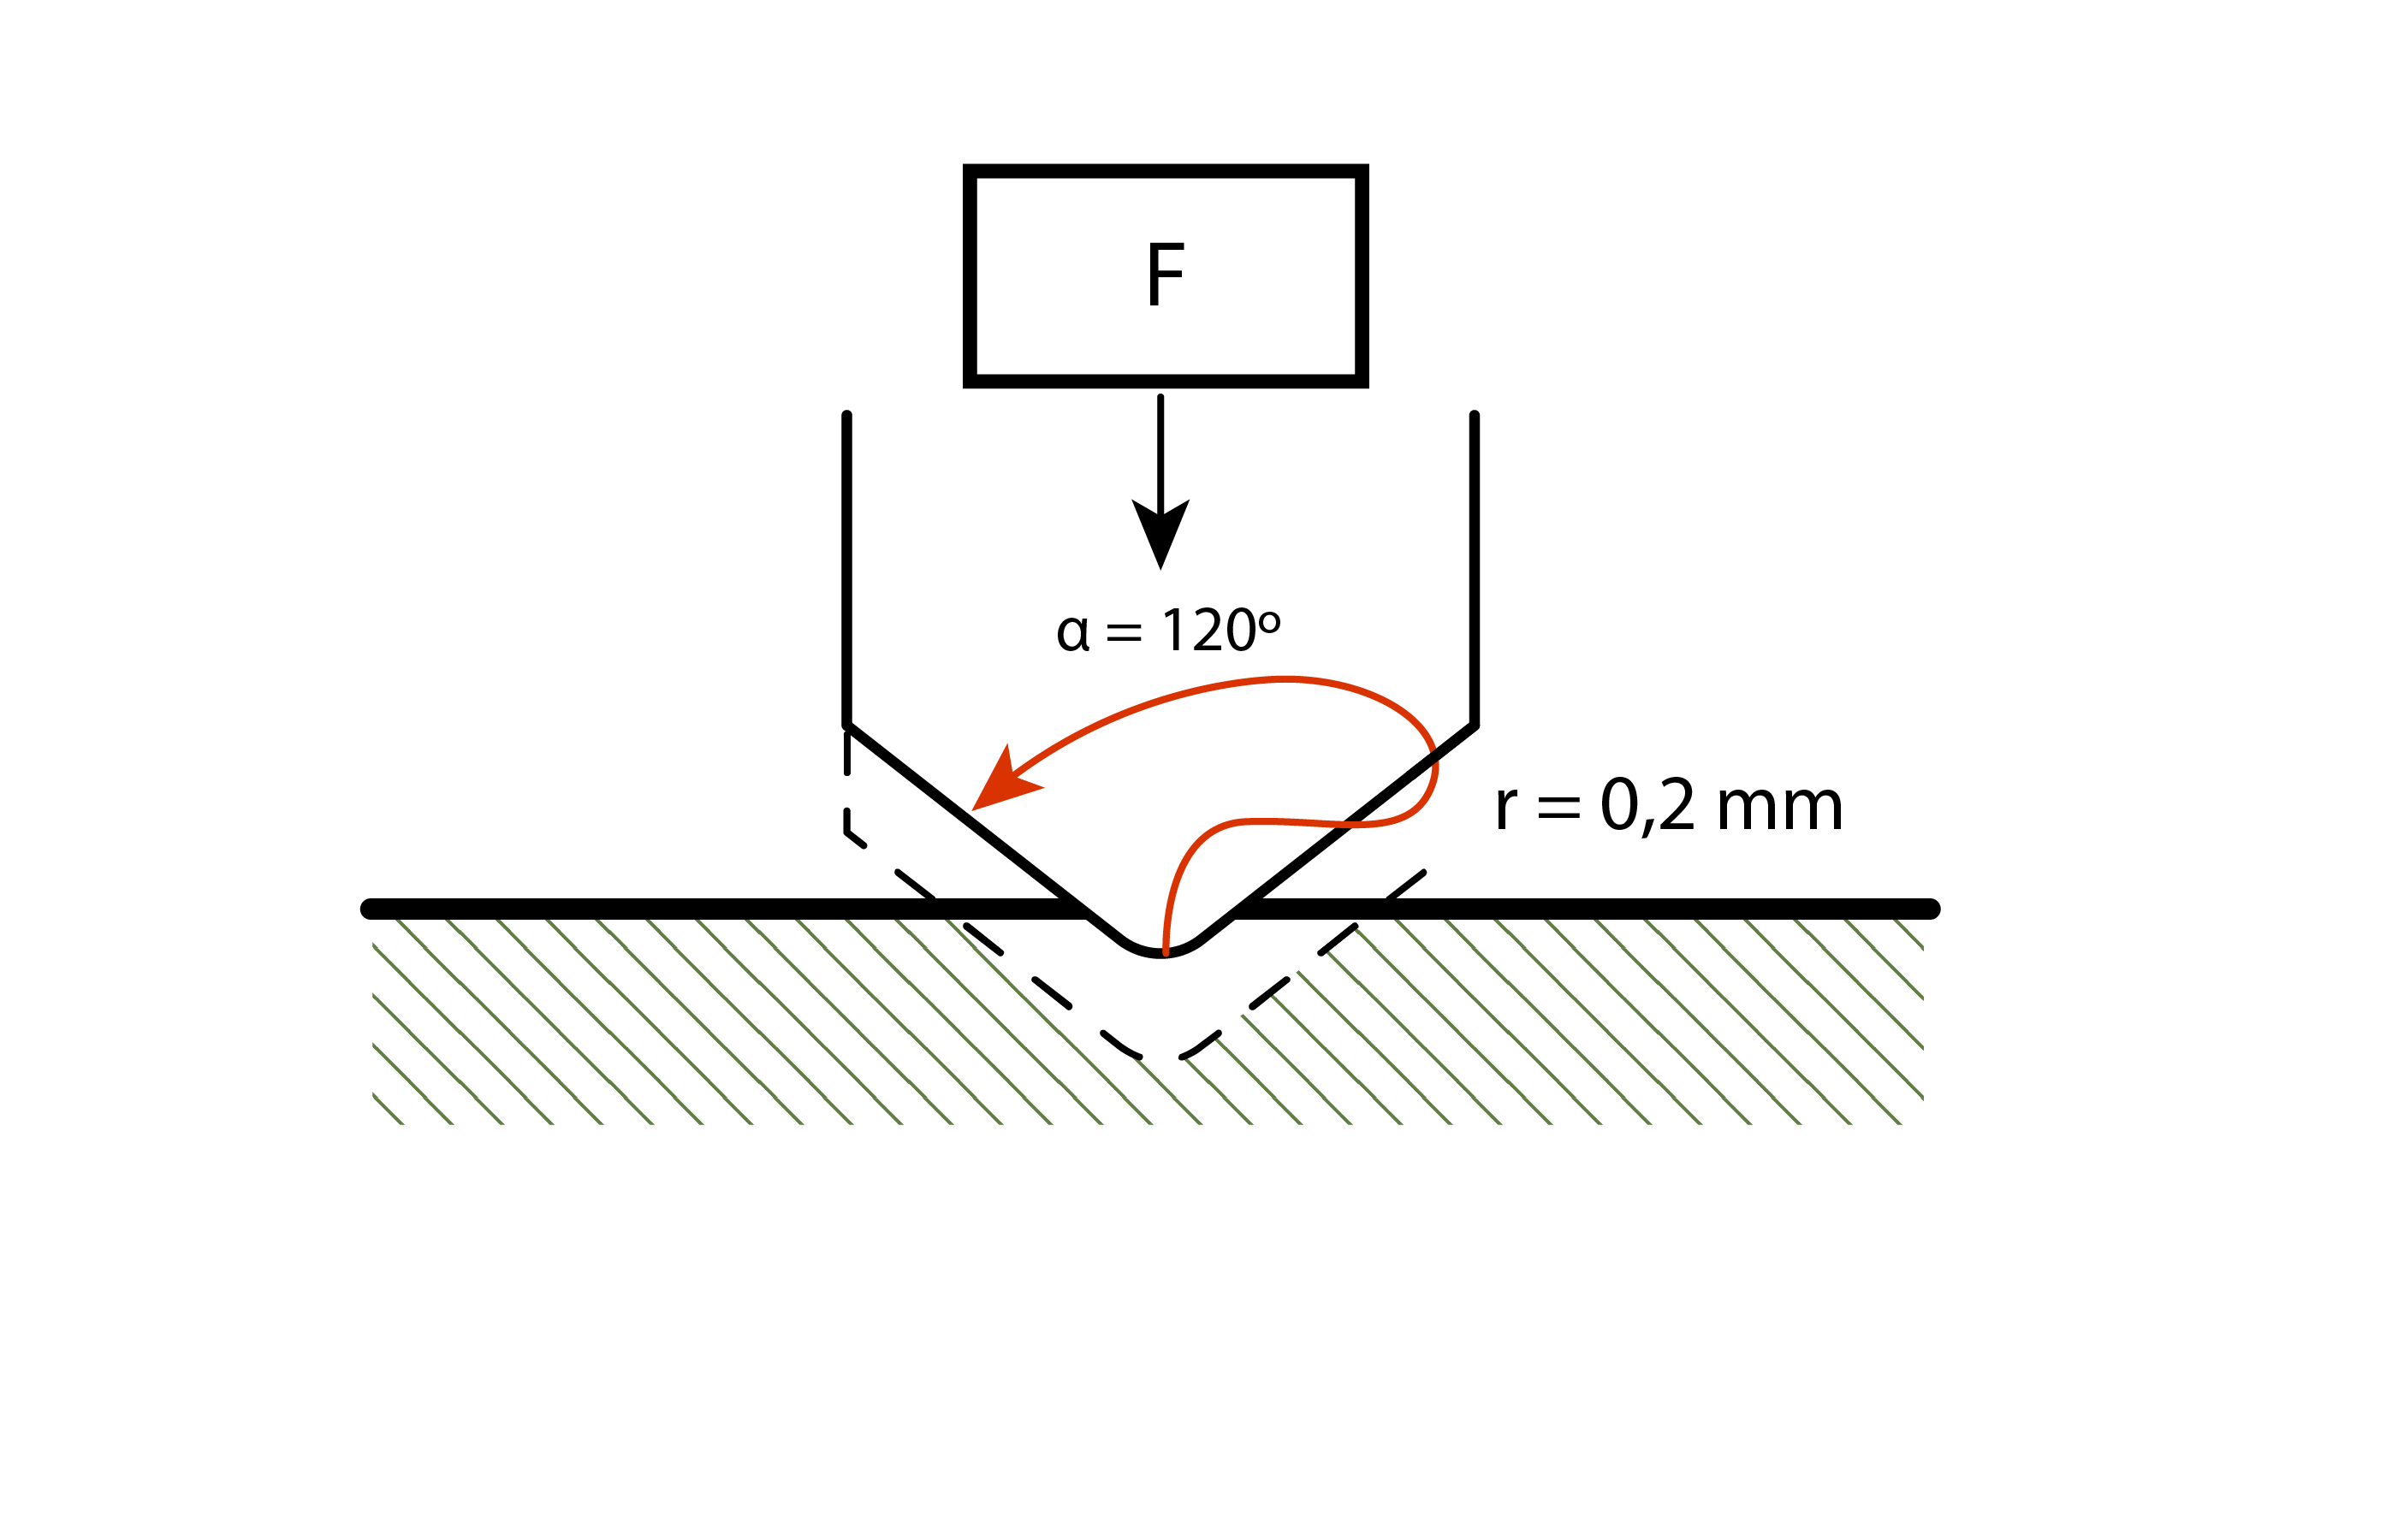
A diamond cone with a 120° cone angle and a rounded tip.
The tip (indenter) creates an impression in the material under a calibrated test force, and the depth of that impression is measured to determine the hardness.
- Mainly used for larger test pieces
- Often used for quick tests of metallic materials
- Developed for production control
- Fast results
The load is applied in two steps: Pre-load of 10 kp (98 N) and a total load of 150 kp (1,470 N).
The measurement result is 100 minus the difference in indentation depth under the pre-load before and after the total load, measured in units of 0.002 mm. The unit is called HRC.
This measurement is standardized in ISO 6508.
Vickers
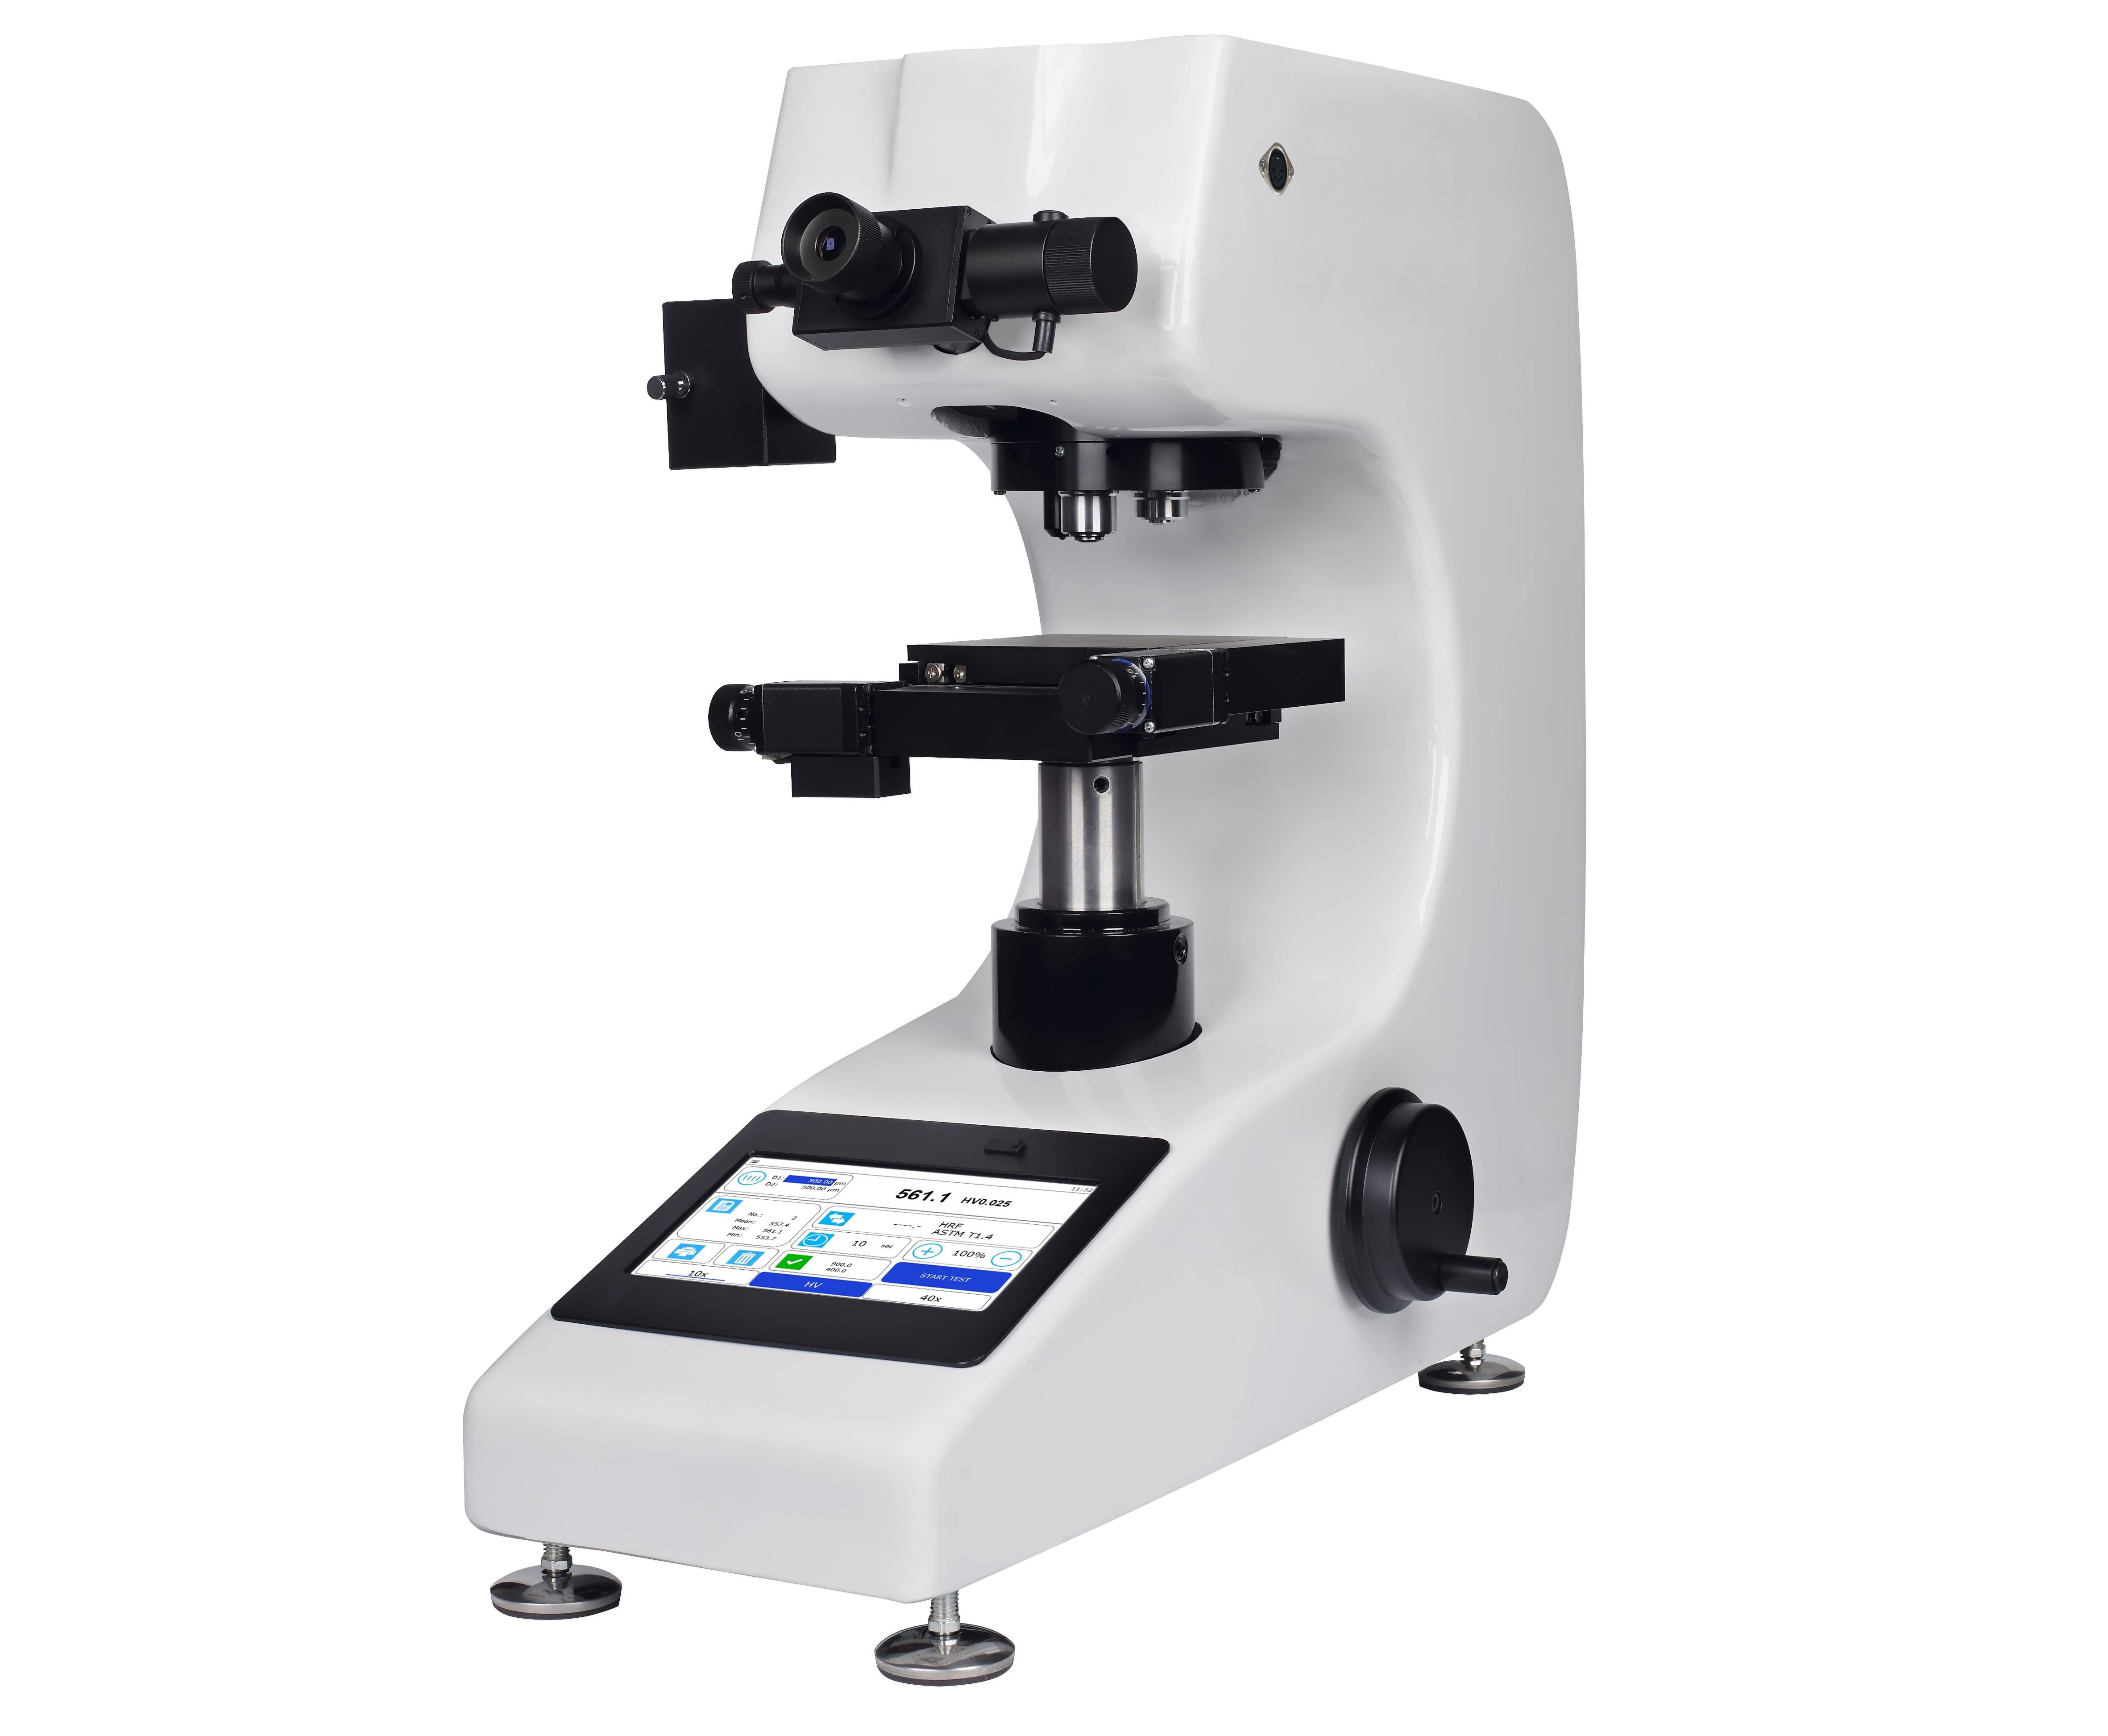
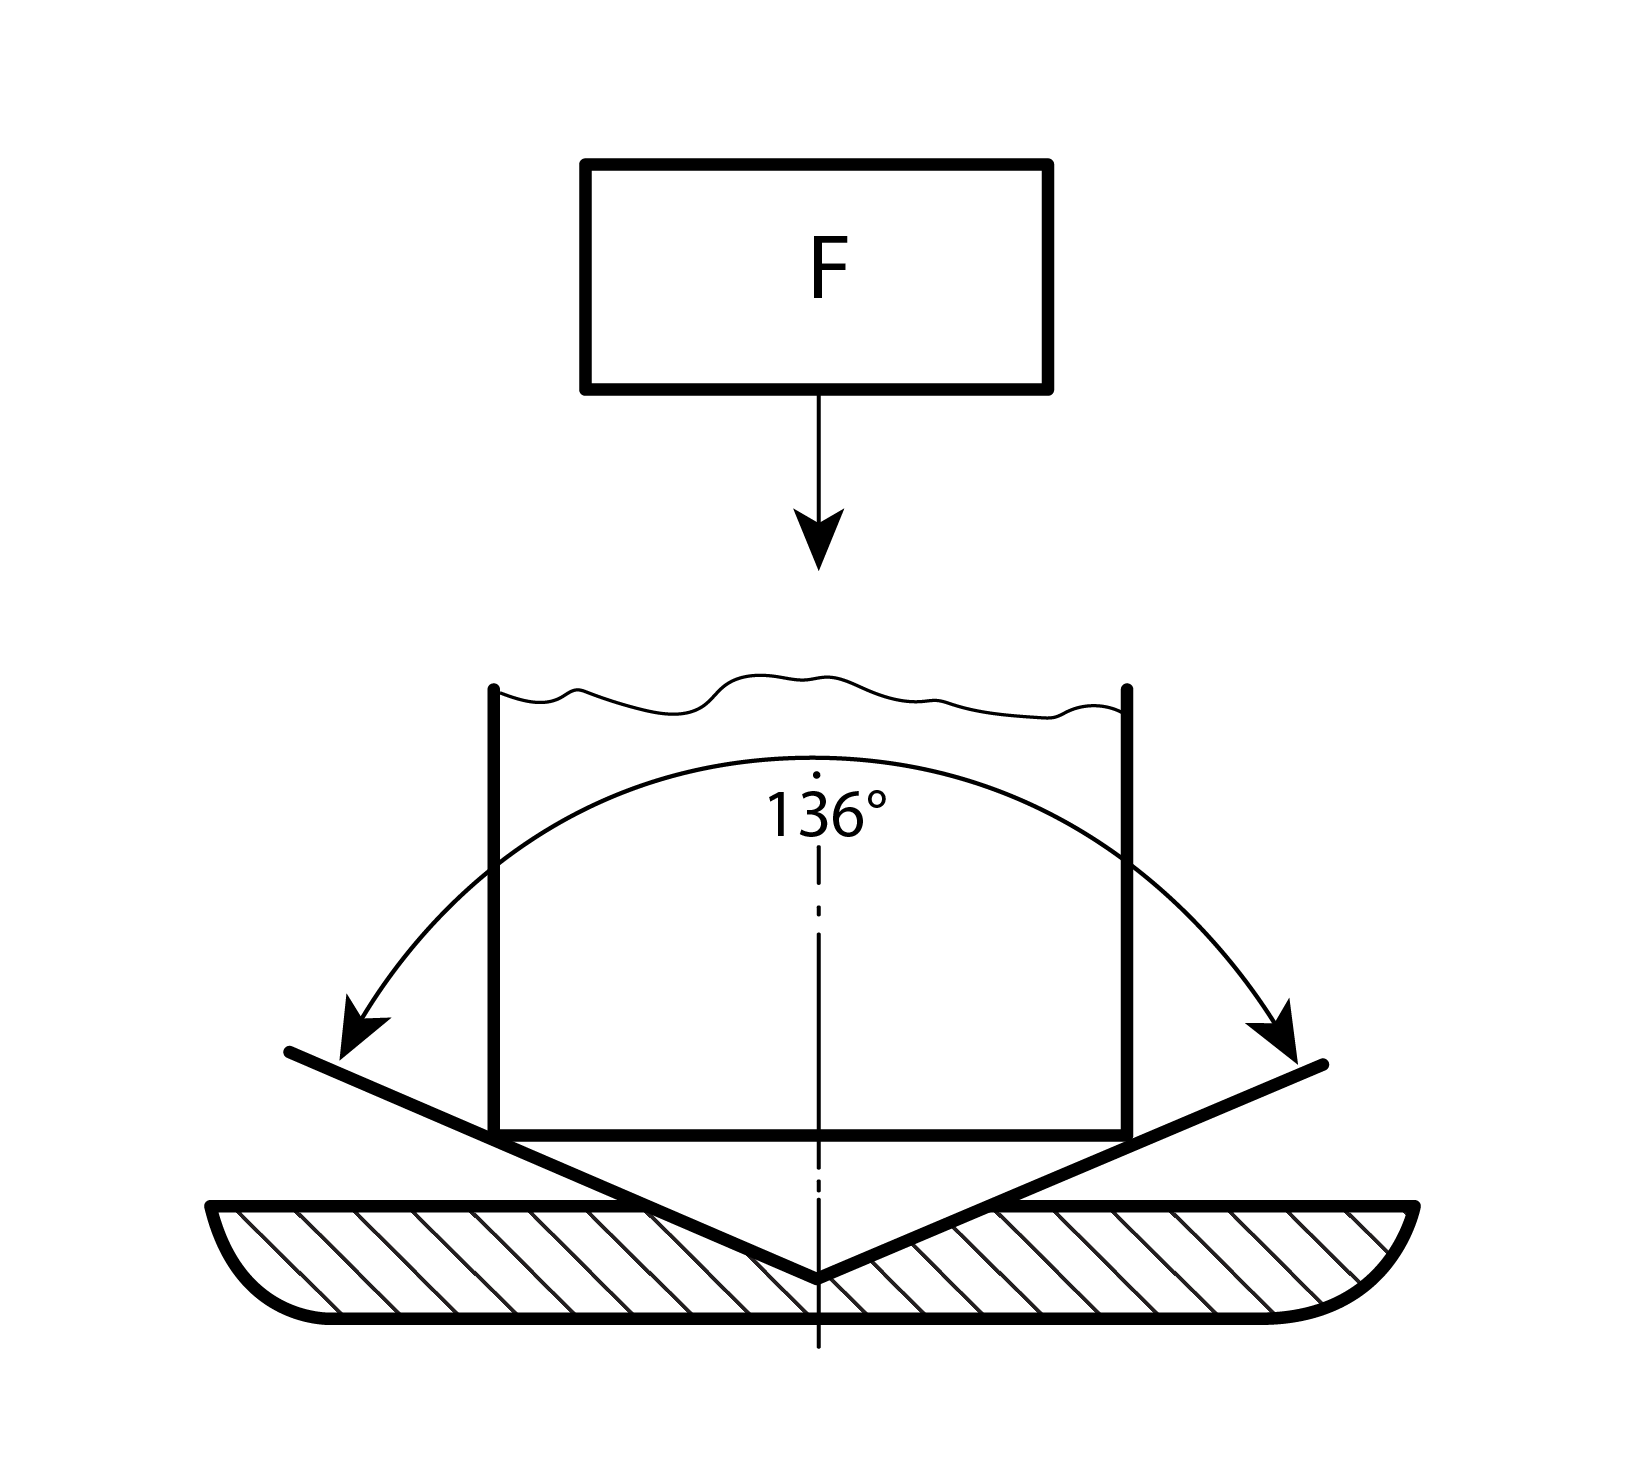
A four-sided diamond pyramid with a 136° apex angle.
Vickers is a hardness test method that can be used for all solid materials, including metals.
- Can be used to test all solid materials (including metals)
- Suitable for many types of tests and applications
- Can measure specific welds individually
The measurement result is obtained by measuring the mean diagonal length of the resulting square indentation.
The hardness value is denoted as HV (Hardness Vickers), and the load is given in kp.
Measurements are standardized in ISO 6507/1 and 6507/2.
See Hardness Testing Products
See the Hardness Testing Category, where you can find all kinds of instruments for hardness testing: UCI, Leeb, Brinell, Vickers, and Rockwell.
Example of a Hardness Test
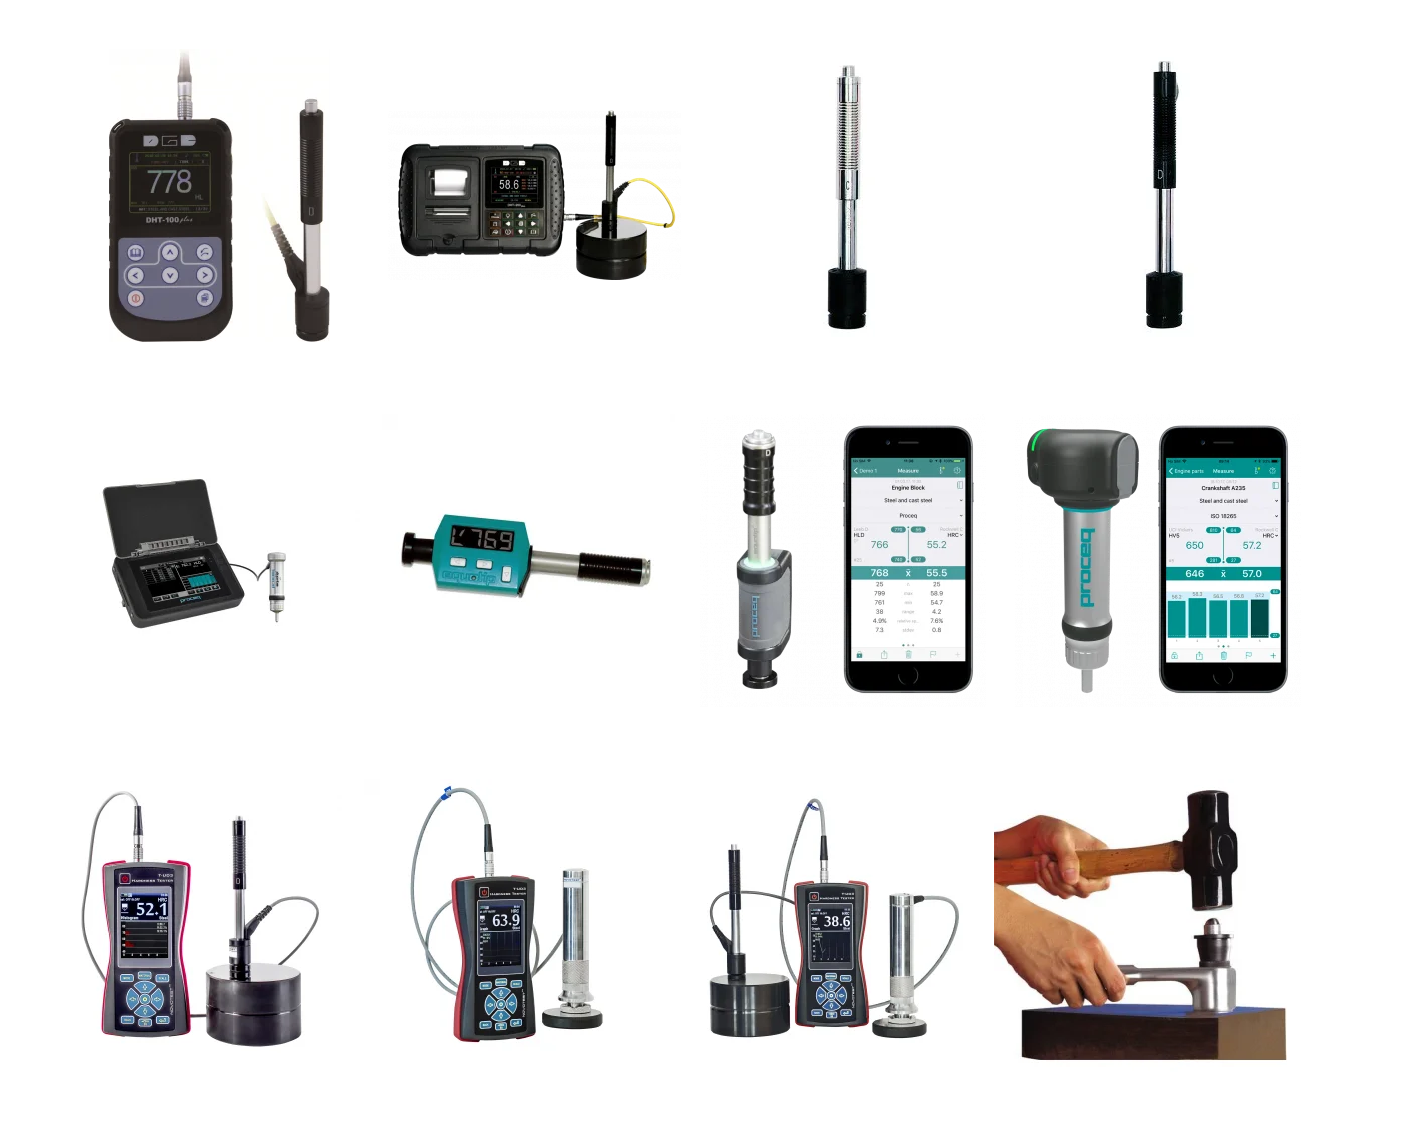
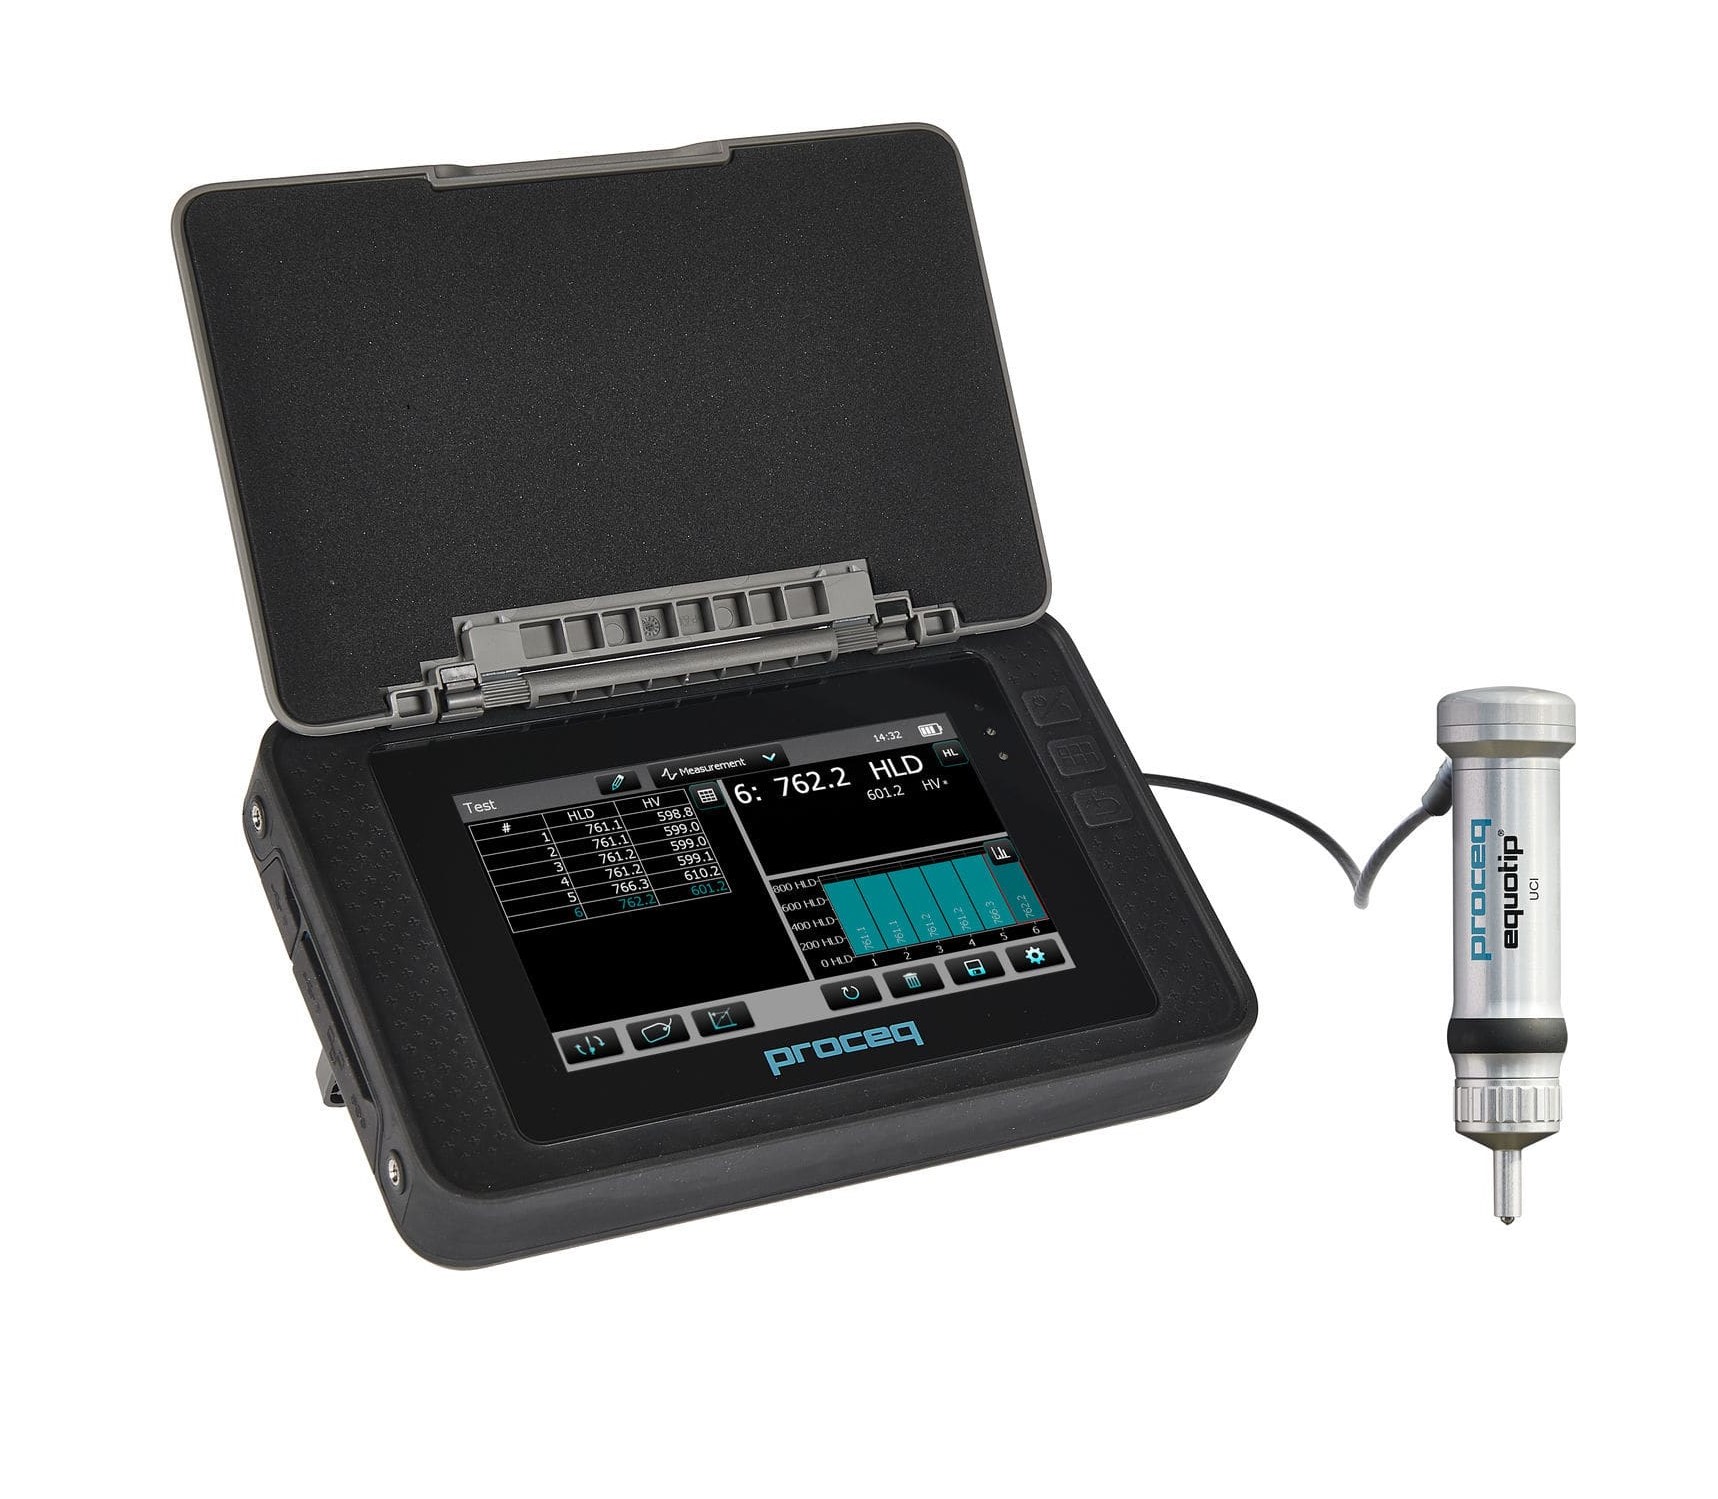
Equotip products for hardness testing from Proceq
Areas of Application and Uses for Hardness Testing
Hardness measurement is used when inspecting items for which hardness/strength is a significant property, for example gears, bearing races on shafts, case-hardened shafts, welds, etc.
Hardness testing is also a simple inspection method upon delivery, for sorting, or for checking heat-treated workpieces.
Hardness measurement is often used to check the condition of materials after an unintended (excessive) heat exposure, for example operational accidents and fires. Besides measuring equipment for metals, there are also hardness testers for plastics, rubber, textiles, paint films, etc.
There is a distinction between 2 types of instruments:
Stationary Hardness Testers
Stationary instruments can only measure on workpieces of limited size or on cut-out samples.
Generally, stationary instruments are the most accurate but are partly limited by the size of the workpiece they can handle. Often, cross-section samples from procedure and production tests are measured in stationary systems.
Portable Hardness Testers
Portable instruments can measure directly on the surface of larger workpieces, so they are not limited by the workpiece size.
There are a number of standardized conversions between different hardness scales when measuring on unalloyed and low-alloy steels.
Examples include: DIN 50150, ISO 4964, and ASTM E 140-84.
As mentioned, the Vickers measuring instruments provide very accurate results. However, these instruments are often large enough that, in practice, it may not be possible to measure at transitions in wall thickness or other irregular geometries.
Measuring hardness in, for example, weld seams close to flanges, bends, and abrupt dimensional changes can therefore pose challenges.
Principles of Hardness Testing Methods
Rockwell B and N
Rockwell also exists as Rockwell B, where the indenter is a 1/16" ball and the total load is 100 kp (980.7 N), and Rockwell N (Superficial) with a smaller preload and lower total load, often 3 kp (28.4 N) preload and 15, 30, or 45 kp (147, 294, 441 N) total load.
Shore
The Shore method is based on a dynamic measurement of the energy absorbed by the test object when a ball-tipped body strikes it.
UCI Hardness Testing
The measurement takes place by pressing a vibrating probe with a diamond pyramid tip into the surface.
The hardness value is a function of the contact area between the diamond and the test object.
Equotip
Equotip measures both the launch and rebound velocity at a certain height above the test surface, using an induction principle. The impact body is launched by a spring.
Development of Hardness Testing Methods
Hardness testing began with the development of the Brinell and Rockwell principles, for instance for the inspection of cannon and rifle barrels. Since then, other methods have been developed to cover measuring needs at different strength levels and for different materials. Some of these methods, especially the more recent UCI and Equotip, were created to meet the need for both rapid measurements and smaller, more mobile instruments for on-site use.
Today, hardness testing is widely used to inspect the strength properties of components, either according to a direct hardness specification for the item in question or based on the expected hardness for the type of material. Testing is performed as part of production control, receiving inspection, and damage evaluation.
For ideal hardened and tempered steel components, there is a direct relationship between Meyer hardness (HM) and tensile strength. The difference between HM and Brinell HB is very small, so the same relationship is commonly applied to Brinell results. Dividing the Brinell measurement result by 0.3 gives a value very close to the tensile strength of the steel.
This relationship can be used, with greater uncertainty, for normalized steels. However, it cannot be applied to cold-deformed/strain-hardened workpieces. Metals with little or no linear elastic curve do not exhibit this relationship. This is the case for austenitic steels, aluminum, and copper.
Some damage mechanisms have been shown to be directly dependent on the material’s strength. Most relevant in recent years are cold/hydrogen cracks, for example during welding, and stress corrosion caused by hydrogen sulfide in sour oil and gas environments. Research results have formed the basis for specifying maximum allowable hardness. The hardness requirements are most commonly 325 or 350 HV for hydrogen cracking risk, and 22 HRC or the equivalent 248–250 HV for hydrogen sulfide-induced stress corrosion.


_copy (1) (1)/assets/images/header/trustpilot.png)
